
Table of Contents
- Understanding Your Fabric Before You Shrink
- The Boiling Water Method for Controlled Shrinkage
- Using Your Washing Machine to Shrink a Graphic Tee
- Best Practices for Washing Graphic Tees
- How to Protect Graphic Prints in the Dryer
- Drying Techniques for Safe, Predictable Results
- Common Mistakes That Damage Graphic Prints
- Frequently Asked Questions
Last Updated: September 18, 2026
Understanding Your Fabric Before You Shrink
Fabric composition determines shrinkage response. Cotton fibers relax and contract with moisture and heat, while polyester blends resist shrinkage but may still contract slightly.
Check the care label before attempting to shrink a graphic tee safely, it reveals fiber content and heat tolerances. Pure cotton shrinks more readily than polyester blends.
Most quality apparel is pre-shrunk during manufacturing and will shrink only 2-5% more at home. Raw cotton can shrink 10-15% with the same heat exposure. Check your care tag for "pre-shrunk" or "preshrunk", if absent, assume significant shrinkage potential.
Heat tolerance thresholds vary by fiber blend:
- 100% cotton: Tolerates water temperatures up to 160°F safely; boiling water (212°F) causes rapid contraction. Pre-shrunk cotton is stable at 160°F but will still contract noticeably at boiling temperatures.
- Cotton-polyester blends (50/50 to 80/20 cotton): Safer at temperatures below 140°F. Polyester fibers begin to warp above 160°F, which can distort the garment shape even if the cotton shrinks as intended.
- High polyester content (60% polyester or more): Minimal shrinkage even at 160°F. Heat above 160°F risks permanent damage to the synthetic fibers without meaningful size reduction.
Heat setting is key: fibers relax when warm and contract as they cool. Controlled contraction improves fit without damaging the print. Exceeding heat tolerance causes uneven shrinkage, pilling, or permanent shape loss.
When buying a tee to shrink, look for "sanforized" or "pre-shrunk" labels. Vintage or budget tees are more likely raw cotton. Heavier-weight tees (6 oz+) are typically pre-shrunk. Test a small area first if unsure.
The Boiling Water Method for Controlled Shrinkage
Submerging your graphic tee in boiling water creates thermal shock that causes fiber contraction with timing control, longer submersion means more shrinkage. Safety depends on the printing method used.
Understanding graphic printing methods and heat tolerance:
Identify the printing technique first, it determines whether boiling water is safe:
-
Screen-printed graphics: Ink sits on the fabric surface and cures at 300-350°F, making it stable at boiling water (212°F). Prolonged exposure (10+ minutes) can soften the binder and cause slight bleeding. Generally the safest choice for boiling water shrinking.
-
Direct-to-garment (DTG) printed graphics: Water-based inks cure at 240-280°F and penetrate fibers. Boiling water can reactivate the binder, causing color bleed. Limit soaking to 3-5 minutes maximum.
-
Vinyl-applied graphics: Heat-pressed vinyl adheres via adhesive. Boiling water weakens the bond, causing peeling or bubbling. Do not use boiling water; use the washing machine method with cold water only.
How to shrink a graphic tee safely using boiling water:
- Identify the printing method (screen-printed feels raised and rigid; DTG feels flat and soft; vinyl feels plasticky).
- Fill a pot with water and bring it to a rolling boil.
- Turn off the heat and let it cool for 1-2 minutes (this reduces the risk of ink reactivation for DTG prints).
- Submerge the shirt completely in the hot water, keeping the graphic side up if possible to minimize direct ink contact.
- Let it soak for 5-10 minutes for screen-printed designs; 3-5 minutes for DTG; skip this method entirely for vinyl.
- Remove the shirt carefully with tongs.
- Rinse in cold water to stop the shrinking process immediately.
- Gently squeeze out excess water without wringing.
The cold water rinse is critical, it halts fiber contraction and stabilizes ink. Without it, the shirt continues shrinking and DTG inks remain softened, increasing bleed risk.
This method works best for 100% cotton with screen-printed graphics. Polyester blends shrink minimally (3-7%). For DTG, reduce soaking to 3 minutes. For vinyl, do not use this method.
The boiling water approach lets you test shrinkage in small increments. If the first soak doesn't shrink it enough, you can repeat the process, but only for screen-printed designs. For DTG, a second soak increases bleed risk significantly. This beats throwing it in the dryer and hoping for the best, because you maintain visibility and control over the process.
Using Your Washing Machine to Shrink a Graphic Tee
The washing machine method offers convenience with less control. Hot water and agitation cause fiber relaxation and contraction. Use the delicate cycle to reduce agitation while providing heat exposure.
To shrink a graphic tee safely in the washing machine:
- Wash on the delicate cycle with hot water
- Use a gentle detergent
- Wash alone or with similar colors only
- Skip the fabric softener (it prevents shrinkage)
- Check the fit before drying
Checking fit prevents over-shrinking, if it fits better after washing, skip the dryer. Hot water is essential; cold water won't trigger the same contraction. A regular cycle agitates more than delicate, producing greater shrinkage.
Smoking nationSwagHeavyweight Unisex →
Best Practices for Washing Graphic Tees
Turn the shirt inside out before every wash, this shields the print from friction and direct water contact, the single most effective habit for extending print life.
Use cold water for regular maintenance washes to prevent unnecessary fiber relaxation. Reserve hot water for intentional shrinkage only, as frequent hot water washing degrades fabric and graphics.
Wash graphic tees separately or with similar colors to prevent dye bleed, which risks staining the graphic design.
Choose a gentle detergent, strong ones fade prints and weaken fibers. Skip fabric softener entirely; it dulls graphic prints.
Avoid bleach and oxygen-based cleaners. These break down both cotton fibers and ink. Even diluted bleach can create permanent discoloration on graphic designs. If you need stain removal, spot-treat with mild soap instead.
Load the washer loosely. Cramming clothes in creates friction and heat buildup. Loose loading lets water circulate freely and reduces wear on the print. A fuller load runs more efficiently, but not at the cost of print damage.
How to Protect Graphic Prints in the Dryer
The dryer is where most graphic damage happens. Direct heat and tumbling can crack, fade, and peel screen-printed designs. High heat causes the ink to become brittle. Mechanical stress from tumbling flexes the fabric and breaks the ink bond.
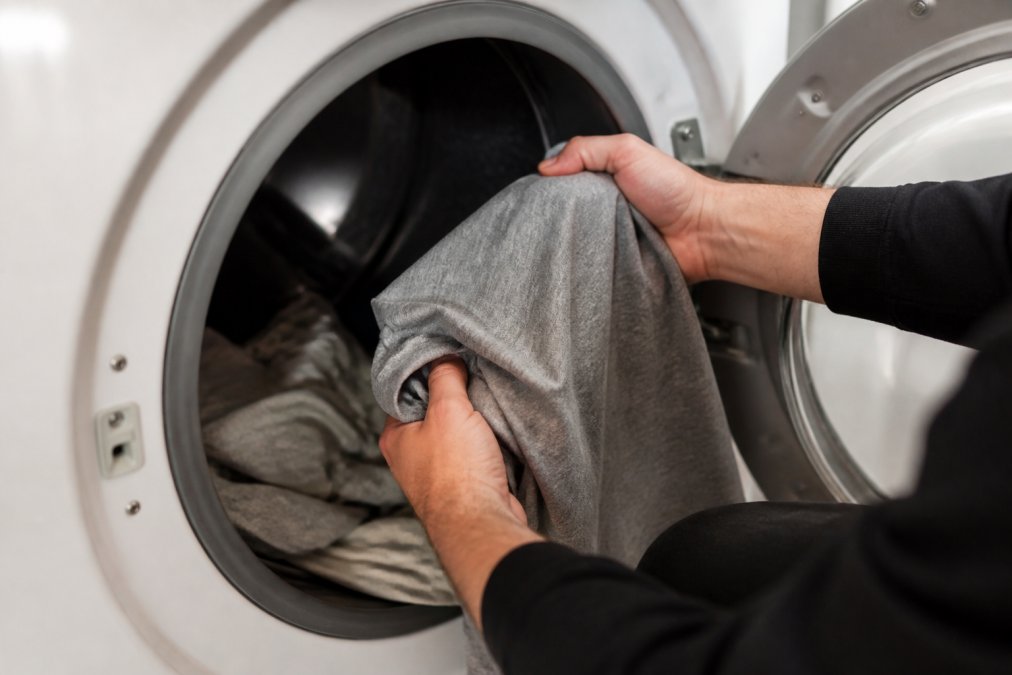
Always turn the shirt inside out before drying. This keeps the printed side away from direct heat and tumbling action. The inside of the shirt takes the mechanical stress while the graphic stays protected.
Use the lowest heat setting available. Most dryers have a low or delicate setting designed for delicate fabrics. This setting reduces thermal shock and prevents ink brittleness. It takes longer to dry, but it's worth the extra time for print preservation.
Remove the shirt while it's still slightly damp. Completely dry garments take more heat exposure. Pulling it out when slightly damp reduces total heat time. Finish drying flat or on a hanger at room temperature.
Never use high heat on graphic tees. High heat settings are the fastest way to damage screen-printed designs. The ink can't withstand prolonged exposure to dryer temperatures above 130 degrees Fahrenheit. Even one cycle on high heat can permanently compromise the print.
Drying Techniques for Safe, Predictable Results
Air drying is the safest method for graphic tees. It eliminates heat exposure entirely. Lay the shirt flat on a clean, dry surface or hang it on a padded hanger. Flat drying prevents stretching that can occur with wet weight on a hanger.
Choose a location with good air circulation. A well-ventilated room dries clothes faster than a humid bathroom. Direct sunlight speeds drying but can fade darker colors over time. Shade is better for preserving color vibrancy.
Avoid direct heat sources like radiators or vents.
Common Mistakes That Damage Graphic Prints
The biggest mistake is washing in hot water without intentionally shrinking. Hot water weakens the ink bond even when shrinkage isn't the goal. Reserve hot water for deliberate shrinkage attempts only.
Frequently Asked Questions
How much will a 100% cotton shirt shrink in the wash?
A 100% cotton shirt typically shrinks 3-5% when exposed to hot water and heat. Preshrunk cotton (like our Gildan 5000 heavyweight crewneck) shrinks less because the fiber contraction already occurred during manufacturing. Expect minimal additional shrinkage after the first wash. Blended fabrics shrink differently, polyester resists shrinkage, so a 50/50 cotton-poly blend shrinks only 1-2%. Multiple wash cycles compound shrinkage, so control your method carefully.
Can I shrink a shirt that is 60% cotton and 40% polyester?
Yes, but expect modest results. The polyester content resists heat and moisture, limiting fiber contraction. A 60/40 blend shrinks roughly 2-3% with aggressive heat treatment, compared to 3-5% for pure cotton. The graphic print is your main concern with blends, polyester fibers hold dyes differently than cotton, and high heat can cause ink to crack or fade unevenly. Use warm water (not hot) and air drying to protect the print while achieving controlled shrinkage.
How can I make a graphic t-shirt smaller without damaging the print?
Turn the shirt inside out before washing and drying. This protects screen-printed and direct-to-garment designs from direct heat exposure and friction. Use warm water (not boiling) and a gentle or delicate cycle. Air dry whenever possible, machine drying with high heat is the leading cause of graphic cracking and fading. If you must use a dryer, use low heat and remove the shirt while slightly damp. Test on an inconspicuous area first if the tee is new or the print is delicate.
Is it okay to put graphic tees in the dryer?
Machine drying is risky for graphic tees. High heat causes thermal shock to the ink, leading to cracking, peeling, and color loss. Screen-printed graphics are especially vulnerable because the ink sits on top of the fabric. If you must use a dryer, select low heat, tumble-dry on the lowest setting, and remove the shirt before it's completely dry. Air drying is always safer, hang the tee or lay it flat to preserve both the garment's shape and the graphic's integrity.