
Table of Contents
- Why Heat Transfer Vinyl Peels Off Shirts
- Tools and Materials You Need to Fix Peeling Vinyl
- Step-by-Step Guide to Re-Pressing Heat Transfer Vinyl
- How to Prevent Vinyl from Peeling in the First Place
- How to Wash Shirts with Vinyl Designs Properly
- Repairing Different Types of Vinyl: Glitter, Puff, and Metallic
- When to Give Up: Signs of Permanent Damage
- Frequently Asked Questions
Last Updated: August 31, 2026
Why Heat Transfer Vinyl Peels Off Shirts
Heat transfer vinyl peels when the adhesive bond between vinyl and fabric weakens. This happens when initial application didn't create a strong thermal bond, or when the garment is exposed to conditions that break that bond down.
The most common culprit is improper heat pressing. If temperature was too low, dwell time too short, or pressure insufficient, the vinyl never fully adhered to fabric fibers. Fabric type matters significantly, natural fibers like 100% cotton bond differently than synthetic blends, and stretchy fabrics with spandex create constant stress on vinyl edges.
Washing and care practices accelerate peeling. Hot water, high dryer heat, and aggressive agitation break down the adhesive bond. Even repeated wearing causes friction that lifts edges. Storage conditions also play a role, humidity, temperature fluctuations, and folding along vinyl lines create stress points where peeling begins.
Lower-grade heat transfer vinyl uses cheaper adhesives that fail faster. Premium vinyl from reputable manufacturers holds up longer because the thermoplastic adhesive layer is formulated to withstand repeated wear and washing cycles.
Tools and Materials You Need to Fix Peeling Vinyl
A heat press is the professional solution for re-pressing vinyl. If you don't own one, many local screen printing shops rent time or offer re-pressing services. For home repairs, a standard household iron works, but use a dry iron, not a steam iron, steam introduces moisture that weakens the adhesive. Set it to medium heat, around 300-325°F.
A teflon sheet or parchment paper is essential for both methods. This protective layer prevents the vinyl from sticking to your heat source. Teflon sheets are reusable, while parchment paper is single-use but cheaper.
You'll need a clean, flat, heat-resistant work surface like a wooden table or countertop. Avoid soft surfaces like beds or ironing boards, which absorb heat and don't provide firm support. A small weight or clamp holds the shirt in place during re-pressing and prevents shifting that causes uneven adhesion.
Have a spray bottle of water nearby. If vinyl edges are severely curled, lightly misting them helps relax the material before re-pressing. A heat-resistant glove or cloth protects your hands from burns, a simple cotton glove or folded kitchen towel works.
Step-by-Step Guide to Re-Pressing Heat Transfer Vinyl
Heat Press Method
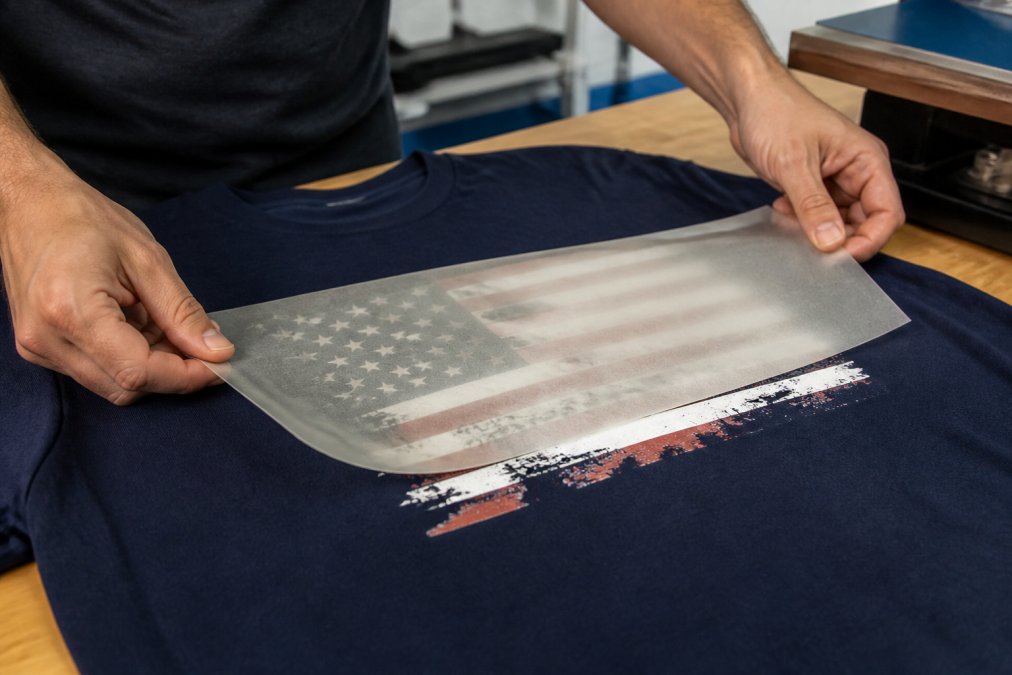
Prepare your shirt by turning it inside out, then lay it flat on the heat press platen with the peeling vinyl facing up. Smooth out any wrinkles or air pockets that prevent even pressure application.
Place a teflon sheet directly over the peeling vinyl, covering the entire design, especially the edges. Set your heat press to 300-325°F and allow it to preheat for 2-3 minutes (the FDA). Close the press and apply firm, even pressure for 10-15 seconds, shorter than initial application because the vinyl already has partial adhesion.
Open the press and lift the teflon sheet carefully. The vinyl should feel warm and slightly tacky. If it peels easily, the temperature or dwell time wasn't sufficient, let it cool completely and repeat with slightly higher temperature or longer dwell time. Allow the shirt to cool completely before moving it, then gently peel back a corner to confirm firm adhesion.
Home Iron Method
Lay your shirt flat on a hard, heat-resistant surface with the peeling vinyl facing up. Smooth out wrinkles in the fabric underneath the vinyl and place your teflon sheet over the peeling section.
Heat your iron to medium (around 300-325°F) and let it reach full temperature. Position the iron over the teflon sheet and press down with firm, steady pressure for 10-15 seconds, don't slide the iron back and forth. Lift straight up, remove the teflon sheet, and check the vinyl. If it still peels when tested gently, let it cool and repeat. The iron method is slower and less reliable than a heat press because it's harder to maintain consistent temperature and pressure across the entire design.
How to Prevent Vinyl from Peeling in the First Place
Proper application prevents most peeling issues. Use the correct temperature for your specific vinyl type, most standard heat transfer vinyl requires 300-325°F, but metallic and specialty vinyls have different requirements. Check manufacturer specifications.
Dwell time matters equally. Standard application typically requires 15-20 seconds under a heat press. Pressure must be firm and even across the entire design, uneven pressure creates weak spots where peeling starts. Allow proper cooling before removing the shirt from the press, waiting at least 30 seconds before removing the backing material.
Use quality vinyl from reputable manufacturers. Premium vinyl costs more upfront but lasts significantly longer through wear and washing cycles. Choose the right vinyl type for your fabric, stretchy fabrics need flexible vinyl that moves with the material, while regular vinyl on spandex-blend shirts will crack and peel.
Pre-wash new garments before applying vinyl to remove manufacturing residue and sizing that interfere with adhesion. Store finished garments properly by hanging them or folding so the vinyl area remains smooth, avoiding climate extremes like hot attics or damp basements.
How to Wash Shirts with Vinyl Designs Properly
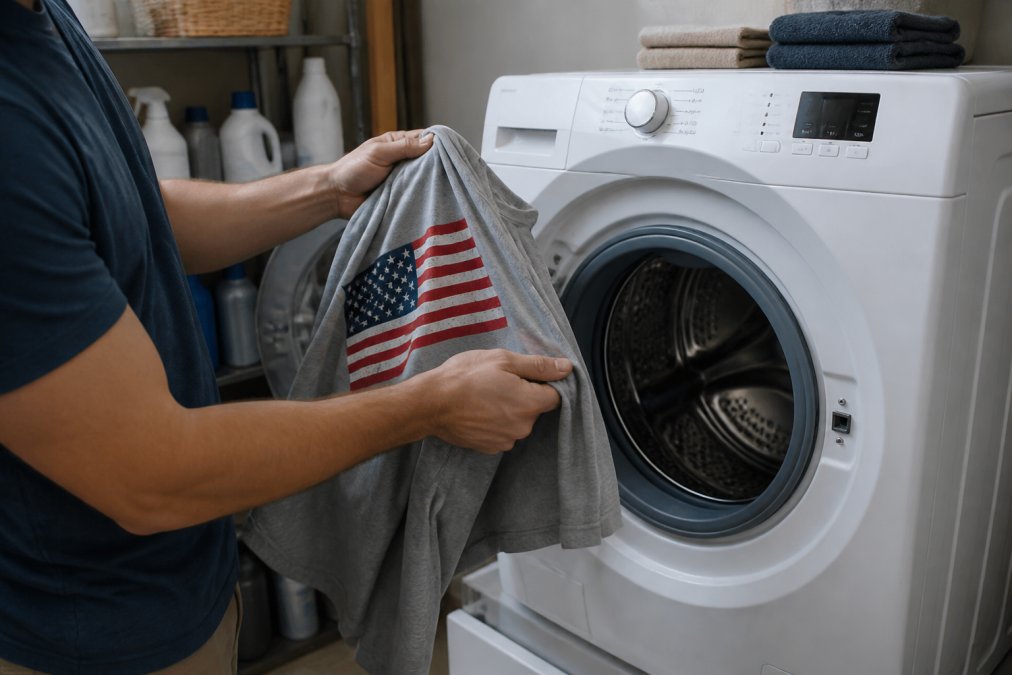
Turn the shirt inside out before washing, this is the single most important step. Inside-out washing protects the vinyl from direct contact with water, detergent, and agitation.
Use cold water, not hot, as hot water breaks down the thermoplastic adhesive faster (peer-reviewed research). Choose a gentle or delicate wash cycle to avoid excessive agitation that creates stress on vinyl edges. Use mild detergent and skip the dryer for the first 5-10 washes, air dry instead. After the vinyl has been through multiple wash cycles, occasional dryer use on low heat is safer.
Don't wash vinyl shirts in the same load as rough items like jeans or towels. Friction from other garments can catch vinyl edges and peel them. Avoid fabric softener and bleach, fabric softener reduces adhesion over time, and bleach can discolor the vinyl and degrade the adhesive.
Repairing Different Types of Vinyl: Glitter, Puff, and Metallic
Standard heat transfer vinyl is the most forgiving to re-press and tolerates multiple heat cycles. Glitter vinyl is trickier, the glitter particles can melt or dull under excessive heat. When re-pressing glitter vinyl, use 300°F and reduce dwell time to 8-10 seconds, using a teflon sheet to protect the glitter.
Puff vinyl requires lower temperature than standard vinyl, typically 270-290°F, and can collapse under excessive heat. When re-pressing, use lower temperature and shorter dwell time (8-10 seconds), pressing around the puff rather than directly on top of it.
Metallic vinyl has a reflective finish easily damaged by heat. Use around 280-300°F and reduce dwell time to 10-12 seconds. Metallic vinyl peels more frequently because the reflective coating reduces adhesive contact with the carrier film.
Always check manufacturer specifications for specialty vinyls like holographic, color-change, and glow-in-the-dark before re-pressing. When unsure about a vinyl type, test on a fabric scrap first by applying vinyl, letting it cure 24 hours, then re-pressing using your planned method.
When to Give Up: Signs of Permanent Damage
If the vinyl has cracked into multiple pieces, peeling it off and reapplying new vinyl is more practical than re-pressing. Cracking indicates the vinyl has degraded and won't adhere properly.
Fabric degradation is another sign to move on. If the fabric underneath has pilled, thinned, or developed holes, the vinyl has nothing solid to bond to. Repeated peeling in the same spot after three or more re-press attempts suggests a fundamental problem, the garment is telling you it's done.
Color fading or discoloration indicates age and material degradation. Faded vinyl has lost flexibility and adhesive strength, and attempting to re-press often results in tearing or shattering. Separation of multi-layer vinyl designs and extreme heat damage like melting or warping also indicate the design cannot be saved.
At this point, remove the damaged vinyl and apply a new design. Most heat transfer vinyl peels off cleanly if you warm it slightly with a heat press or iron, then pull slowly at a low angle. Once removed, the shirt is ready for a fresh application.
Keeping your patriotic designs looking sharp requires proper care from the moment you apply the vinyl. At Nation Swag Designs, we understand that quality apparel deserves quality maintenance, our heavy-weight Gildan and Bella + Canvas shirts are built to last, and the right re-pressing technique protects your investment. If your vinyl starts peeling, follow these steps to restore adhesion and extend the life of your design. For designs that can't be saved, removing the old vinyl and applying a fresh design takes just minutes with the right tools. Your shirt's durability depends on both the initial application and how you care for it afterward, treat both seriously, and your designs will stay vibrant through hundreds of wears and washes.
Frequently Asked Questions
Why does heat transfer vinyl peel off after washing?
Vinyl peels when the adhesive bond between the HTV and fabric weakens. This happens from improper application (insufficient temperature, pressure, or dwell time), low-quality substrates, or repeated washing cycles with hot water and high heat drying. Inadequate curing time before the first wash also contributes. Using the wrong fabric care method, washing inside-out in cold water and air-drying, prevents most peeling issues.
Can you fix peeling vinyl by re-pressing it?
Yes, re-pressing peeling vinyl works if the substrate and vinyl are still intact. Use a heat press at 320-340°F for 10-15 seconds with a teflon or parchment paper protective layer, or a dry iron on medium heat. This reactivates the thermoplastic adhesive. If edges are severely cracked or the vinyl is degraded, replacement is more effective than repair.
What's the best way to wash shirts with vinyl designs to prevent peeling?
Turn the shirt inside out, wash in cold water on a gentle cycle, and air-dry completely. Avoid hot water, bleach, and high-heat dryer settings, which break down the vinyl bond. Wait 24-48 hours after application before the first wash to allow full curing. Wash separately from rough fabrics that can snag the vinyl edges.
Is it better to use a heat press or home iron to fix peeling vinyl?
A heat press delivers consistent temperature and pressure across the entire design, making it the superior choice for reliable results. Home irons work but require careful technique, maintain steady pressure, use a protective teflon sheet, and avoid steam settings. Heat presses are worth the investment if you repair vinyl regularly or apply designs frequently.
This article was written using GrandRanker